How to Clip Your Dog’s Nails: A Step-by-Step Guide
This post may contain affiliate links, meaning if you decide to make a purchase via my links, I may earn a small commission at no additional cost to you. You can read our full affiliate disclosure by clicking here.
Clipping a dog’s nails is an essential part of pet care that many dog owners find challenging. In this article, I’ll provide you with step-by-step instructions and tips to make the process as stress-free as possible for both you and your furry friend.
Introduction:
Clipping your dog’s nails might seem like a daunting task, but with the right knowledge and a gentle touch, you can easily maintain your pet’s paw health. In this guide, we’ll walk you through the process, ensuring a safe and comfortable experience for your beloved canine companion.
Step 1: Gather Your Tools
Before you start, it’s important to have the right tools on hand. Here’s a more detailed look at each item:
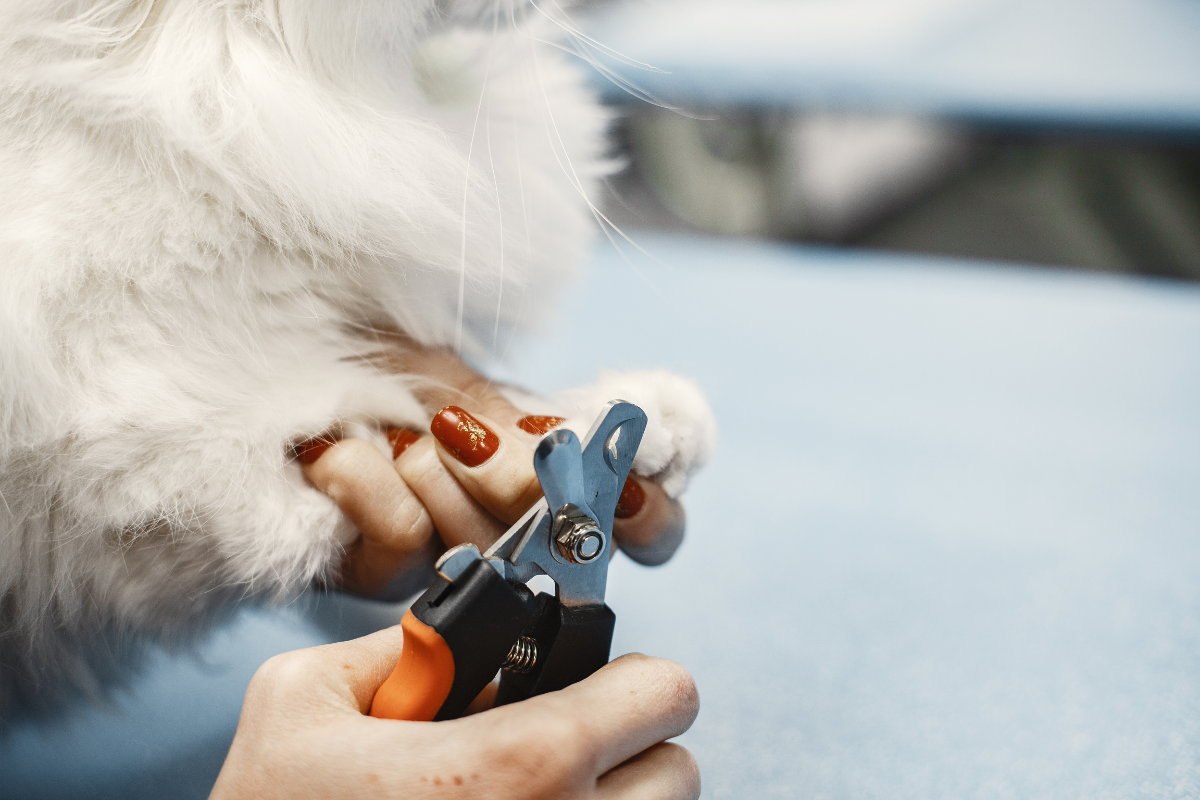
- Dog Nail Clippers: There are various types of clippers available, including guillotine-style and scissor-style clippers. Choose the one that you’re most comfortable using. Make sure they are sharp to ensure a clean cut. Get it here
- Styptic Powder: This is a must-have in case you accidentally cut the quick of your dog’s nail, causing bleeding. Styptic powder helps stop the bleeding quickly. Keep it within reach during the process. Get it here
- Treats for Positive Reinforcement: Treats are essential for rewarding your dog’s cooperation and keeping them calm during the nail clipping. Have a supply of your dog’s favorite treats ready. Get some here
- Calm and Soothing Atmosphere: Find a quiet and well-lit area for the nail-clipping session. Ensure you and your dog are both relaxed, as this can significantly influence the experience.
Step 2: Prepare Your Dog
This step involves getting your dog comfortable with the nail-clipping process:
- Familiarize Your Dog with the Tools: Let your dog inspect the clippers without using them. This can help them become more comfortable with the sight and feel of the clippers.
- Touch Their Paws Gently: Gradually introduce your dog to having their paws touched. Massage and handle their paws regularly, rewarding them with treats and praise.
- Associate Nail Clipping with Positivity: As you touch their paws, reward your dog with treats and affection. This helps them associate the experience with positive things.
Step 3: The Clipping Process
Here’s a more detailed breakdown of the nail-clipping process:
- Locating the Quick: Inside your dog’s nails, there’s a pinkish area known as the quick. Be cautious not to cut into this sensitive part, as it can cause pain and bleeding. Trim only the white or translucent part of the nail.
- Clipping Technique: Hold your dog’s paw gently but firmly. Use the clippers to make a straight cut, perpendicular to the nail. Start with small cuts and avoid taking too much off at once. Gradually work your way down the nail.
Step 4: Dealing with Accidents
Sometimes, accidents happen, and you may cut the quick. Here’s what to do:
- Stay Calm: If you accidentally cut the quick and bleeding occurs, don’t panic. Stay calm, as dogs can sense your emotions.
- Apply Styptic Powder: Quickly dip the bleeding nail into the styptic powder to stop the bleeding. Gently apply pressure and hold the powder against the bleeding area for a few seconds.
- Bonus tip:
- How do you stop a dog’s nail from bleeding without styptic powder?
- A mix of cornstarch and baking soda often works well (or, simply, cornstarch alone), while rubbing a clean bar of scent-free soap or a wet tea bag on the nail at the spot of lesser bleeding can also be effective. No home remedy, however, will be as instantly effective as a styptic powder.
Step 5: Post-Clipping Rewards
After a successful nail-clipping session, it’s time to reward your dog:
- Praise and Treats: Offer plenty of praise and treats to reinforce the positive experience. This will make your dog more willing to cooperate in the future.
Conclusion:
By following these detailed steps, you can make the nail-clipping process as stress-free and safe as possible for both you and your beloved pet. Remember, patience and a calm approach are key to success.
Stay tuned for more fascinating insights on all things pet-related. And don’t forget to sign up for my email list to stay updated with the latest pet tips and tricks.